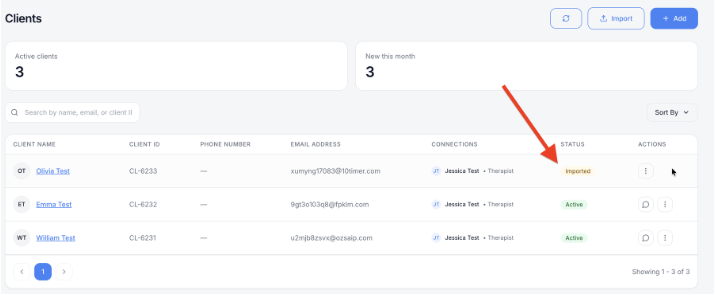
Add a client to create their record in mePro and invite them by email. While you’re adding them, you can also send assessments and intake forms, and upload any documents you already have about them.
Note: All clients, names, emails, appointments and other data shown in the screenshots are sample data we created for this guide. They are not real people or real records.
When to use this
- You’re starting to work with a new client.
- You’re moving an existing client into mePro and want their past documents in one place.
- You want a new client to complete assessments or intake forms before their first session.
Ways to open the Add a new client form
There are three ways to start adding a client. Each one opens the same Add a new client form. Use whichever is closest to where you are.
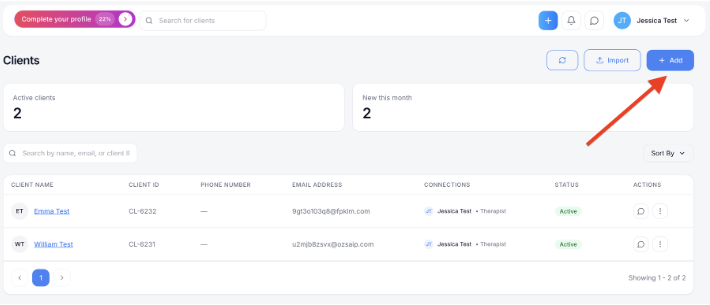
Option 1: From the Clients page
1. In the left sidebar, click Clients. The Clients page opens. It shows your number of Active clients, how many are New this month, and a list of your clients
2. In the top right, click + Add.
Option 2: From the + button on any page
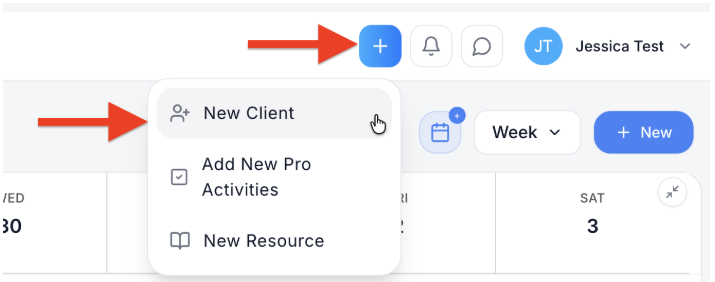
1. Click the blue + button at the top of the screen, then choose New Client. The menu also has Add New Pro Activities and New Resource.
Option 3: While booking an appointment in Pro Calendar
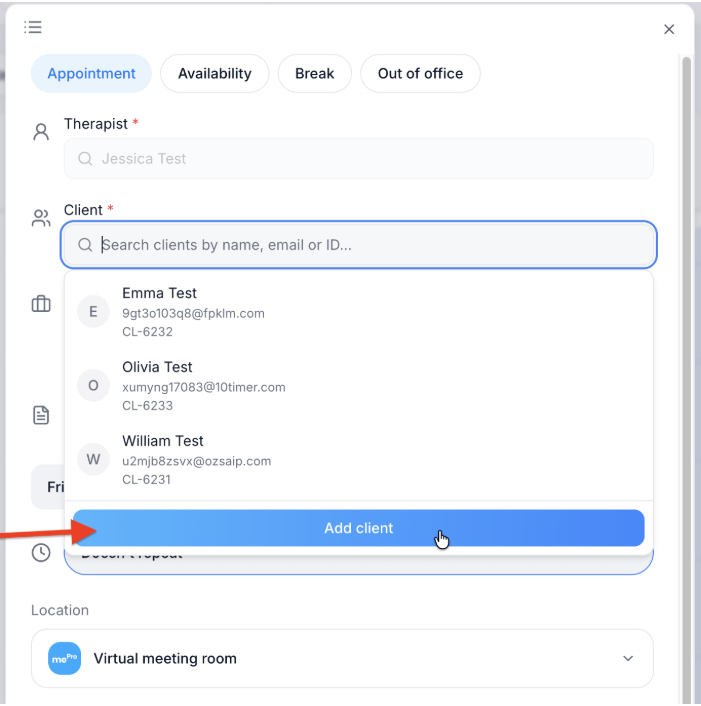
1. In Pro Calendar, click an empty time, or click + New and choose Appointment.
2. Click the Client field, then click Add client at the bottom of the list. The form opens on top of the appointment form. When you finish adding the client, mePro returns you to the appointment so you can finish booking.
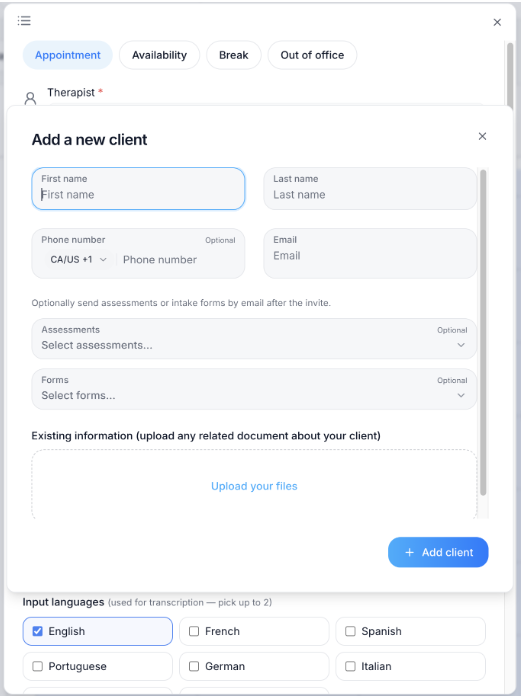
Fill in the client’s details
Whichever way you opened it, the Add a new client form works the same way.
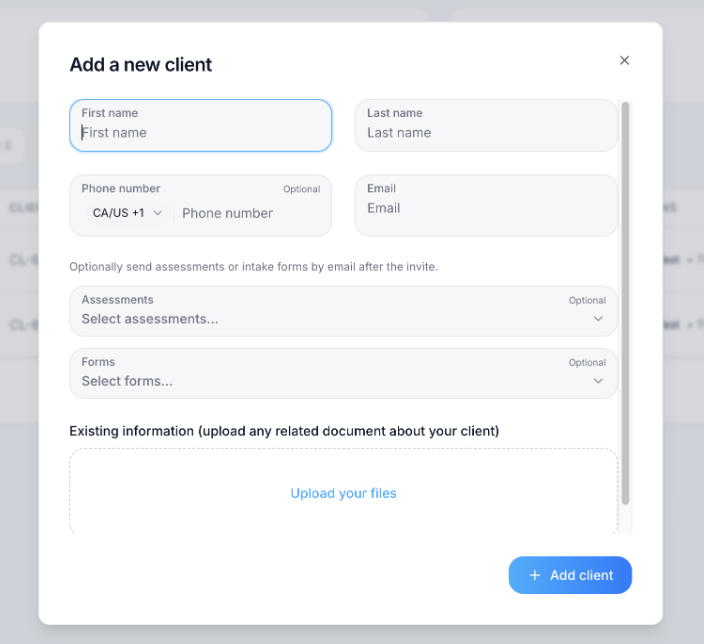
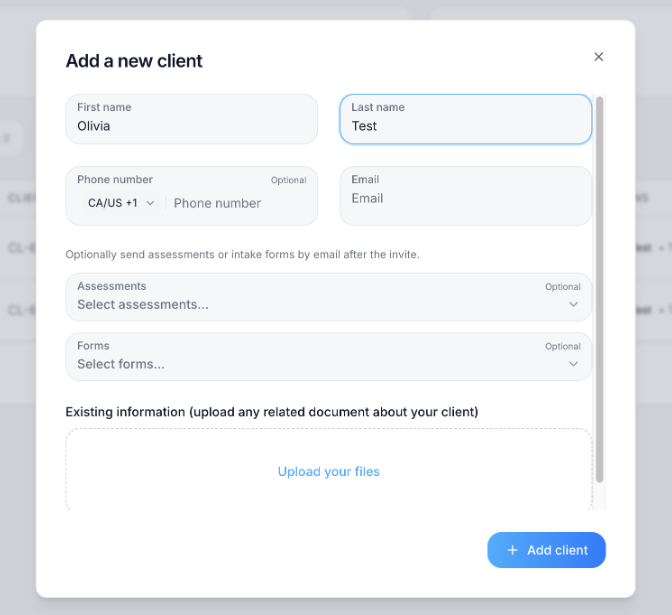
1. Enter the client’s First name and Last name.
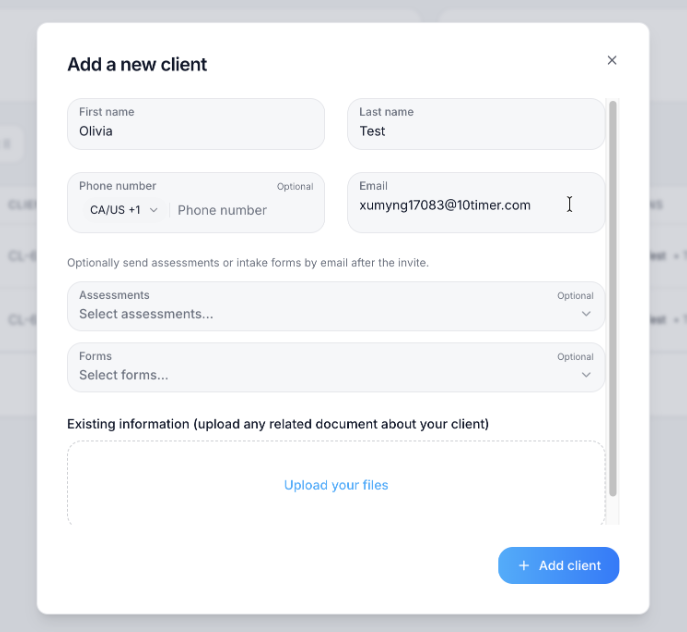
2. Enter the client’s Email. mePro sends the client’s invite to this address, so check it carefully. Phone number is optional. If you add one, choose the country code first (for example, CA/US +1), then type the number.
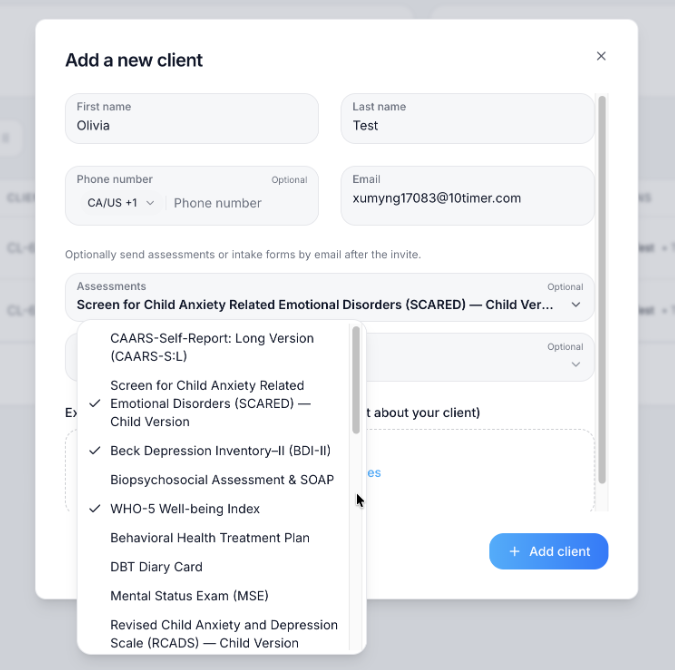
3. Optional: choose assessments to send. Click Assessments and select each one you’d like the client to complete. You can choose more than one; a check mark appears next to each selection. mePro emails them to the client after the invite.
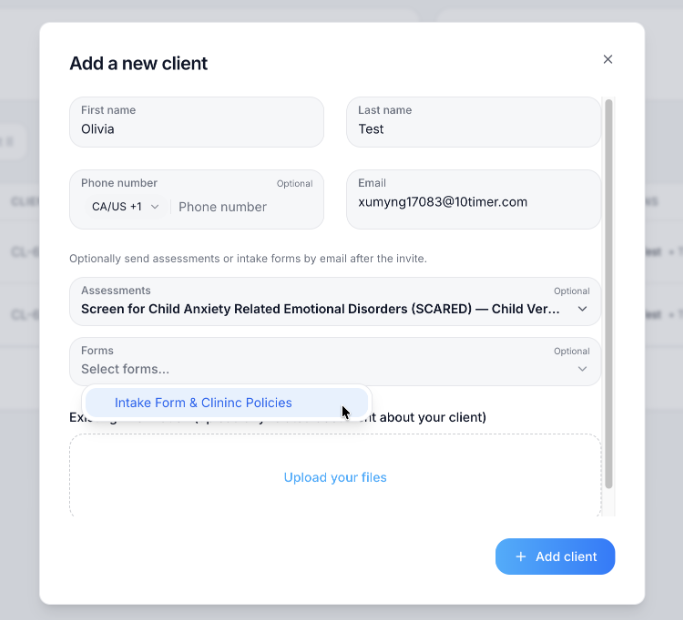
4. Optional: choose forms to send. Click Forms and select the forms you’d like the client to fill in, such as your intake form and clinic policies. These are also emailed after the invite.
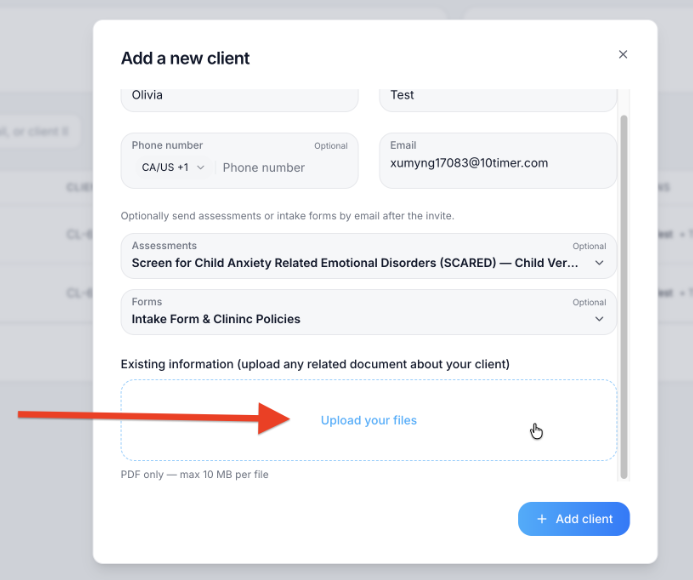
5. Optional: upload existing documents about the client. Scroll down to Existing information and click Upload your files. Use this for records you already have, such as referral letters or previous notes. Files must be PDFs, up to 10 MB each.
6. Click Add client. The form closes and the client appears at the top of your client list with the status Imported. mePro emails them an invite, along with any assessments and forms you selected.